How to use LUT filter: Free Moody LUT Pack for Video Editing
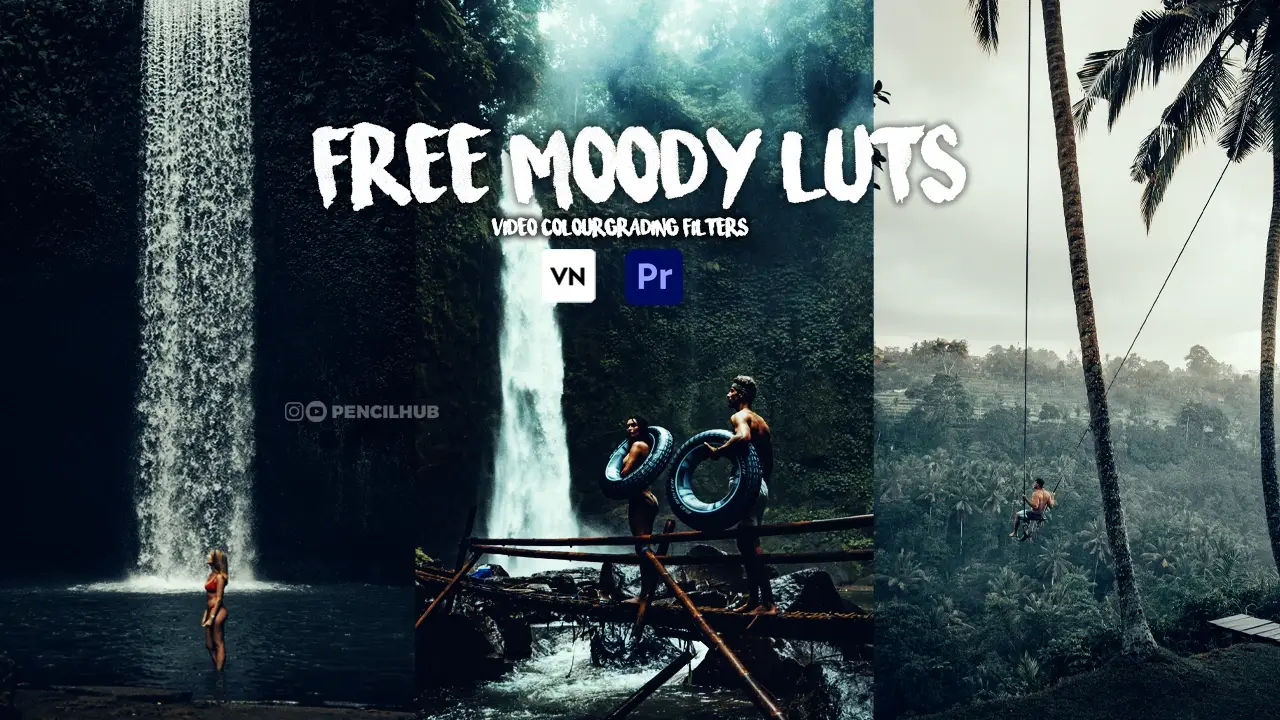
Transform your videos with professional color grading using our free cinematic LUT collection. Perfect for Premiere Pro, CapCut, and VN Editor.
Professional Moody LUT Pack: Transform Your Content
What’s Inside Our Free LUT Pack:
- 6 Premium Cinematic LUT Filters
- Teal & Orange Color Grading Presets
- Mobile & Desktop Compatible
- Commercial License Included
- Professional Color Grading Tools
Perfect For:
- YouTube Content Creators
- Instagram Influencers
- TikTok Videos
- Professional Filmmakers
- Wedding Videographers
- Mobile Content Creators
Complete Guide: How to Use LUT Filters in Different Editors
1. Adobe Premiere Pro Tutorial
Professional Desktop Editing
- Import Your Footage
- Launch Premiere Pro
- Create new project
- Import your video files
- Apply LUT Filter
- Open Lumetri Color panel
- Navigate to Basic Correction
- Click “Browse” under Input LUT
- Select your downloaded LUT
- Fine-Tune Settings
- Adjust LUT intensity
- Fine-tune exposure
- Balance contrast
- Perfect color temperature
Pro Tip: Start with 50% intensity and adjust based on your footage.

2.CapCut Tutorial (Mobile Editing)
Step-by-Step Guide:
- Project Setup
- Open CapCut
- Create new project
- Import video
- Adding LUT Filter
- Tap video clip
- Select “Effects”
- Choose “LUT/Color Grading”
- Import custom LUT
- Advanced Settings
- Adjust filter strength
- Fine-tune brightness
- Control saturation
- Set contrast levels
Mobile Pro Tip: Save your favorite LUT settings as presets for quick access.

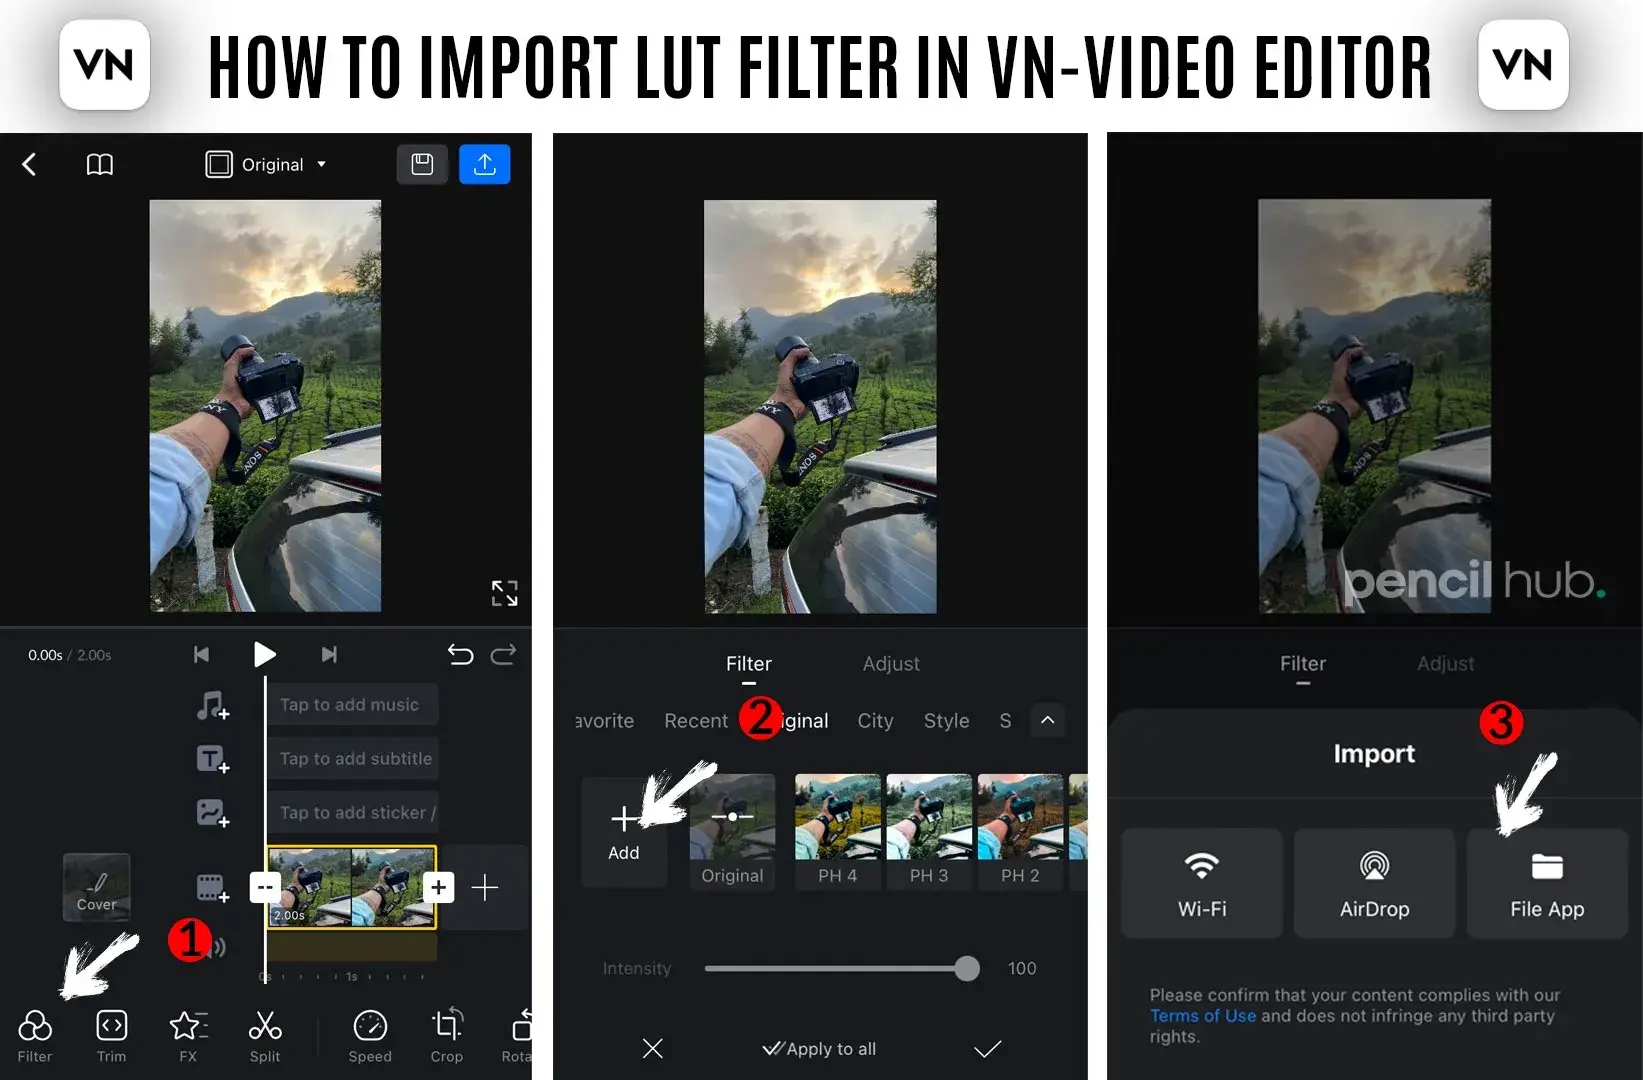
3. VN Editor Guide
Easy Mobile Video Enhancement
Quick Steps:
- Getting Started
- Install VN Editor
- Import your video
- Access Effects panel
- LUT Application
- Find “Filters” section
- Select LUT option
- Import custom LUT
- Adjust intensity
Understanding Color Grading
Why Use LUT Filters?
- Instant professional look
- Consistent brand style
- Time-saving workflow
- Hollywood-style colors
- Cross-platform compatibility
Best Practices:
- Start with Good Footage
- Well-exposed video
- Proper white balance
- Clean composition
- Apply LUT Properly
- Don’t overprocess
- Maintain skin tones
- Keep contrast natural
- Final Adjustments
- Fine-tune exposure
- Check all scenes
- Export in high quality
Advanced Tips for Better Results
Professional Techniques:
- Color Matching
- Match multiple clips
- Maintain consistency
- Build visual style
- Scene Optimization
- Adjust per lighting condition
- Balance indoor/outdoor shots
- Perfect skin tones
- Export Settings
- Choose proper codec
- Select optimal bitrate
- Match platform requirements
Mobile Editing Tips
Optimize for Social Media:
- Instagram-ready looks
- TikTok-optimized presets
- YouTube-friendly colors
- Reels-perfect tones
How to Download & Install LUT Filters
For iPhone Users:
- Click download link
- Select “Open in…”
- Choose “Save to Files”
- Extract ZIP file
- Import to editing app
For Android Users:
- Download ZIP file
- Use ZArchiver/WinRAR
- Extract contents
- Import to editor